This post may contain affiliate links.
Looking for a delicious and easy-to-make vegan dessert? Look no further than these mouthwatering vegan rice crispy treats! Made with just a handful of simple, plant-based ingredients, these treats are the perfect sweet treat for any occasion. They're easy enough for kids to make and the perfect lunchbox treat.
Before we jump into all the tasty treat details, let's just have a quick chat about marshmallows.
Are marshmallows vegan?

Traditional marshmallows are not considered vegan. We’re talking about the usual Jet-puffed variety you find just about everywhere. They contain gelatin, a substance derived from animal bones, skin, and connective tissue.
Instead of gelatin, vegan marshmallows use a combination of tapioca starch and carrageenan to achieve the same texture and consistency as traditional marshmallows.
It's important to note that while all vegan marshmallows are gelatin-free marshmallows, they are not all created equal. Some may still contain ingredients that you may choose to avoid, such as artificial flavors, colors, and preservatives. Always check the ingredient list before buying any marshmallow product, and make sure it meets your dietary requirements.
If you have more questions about vegan marshmallows, check out this post: Are Marshmallows Vegan? A Guide to Plant-based Marshmallows
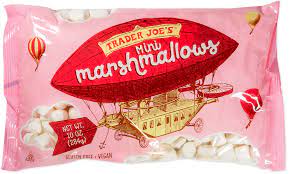
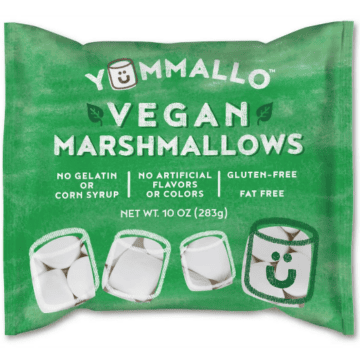
Our favorite vegan marshmallows
 Buy Now →
  Buy Now →
  Buy Now →
 The method
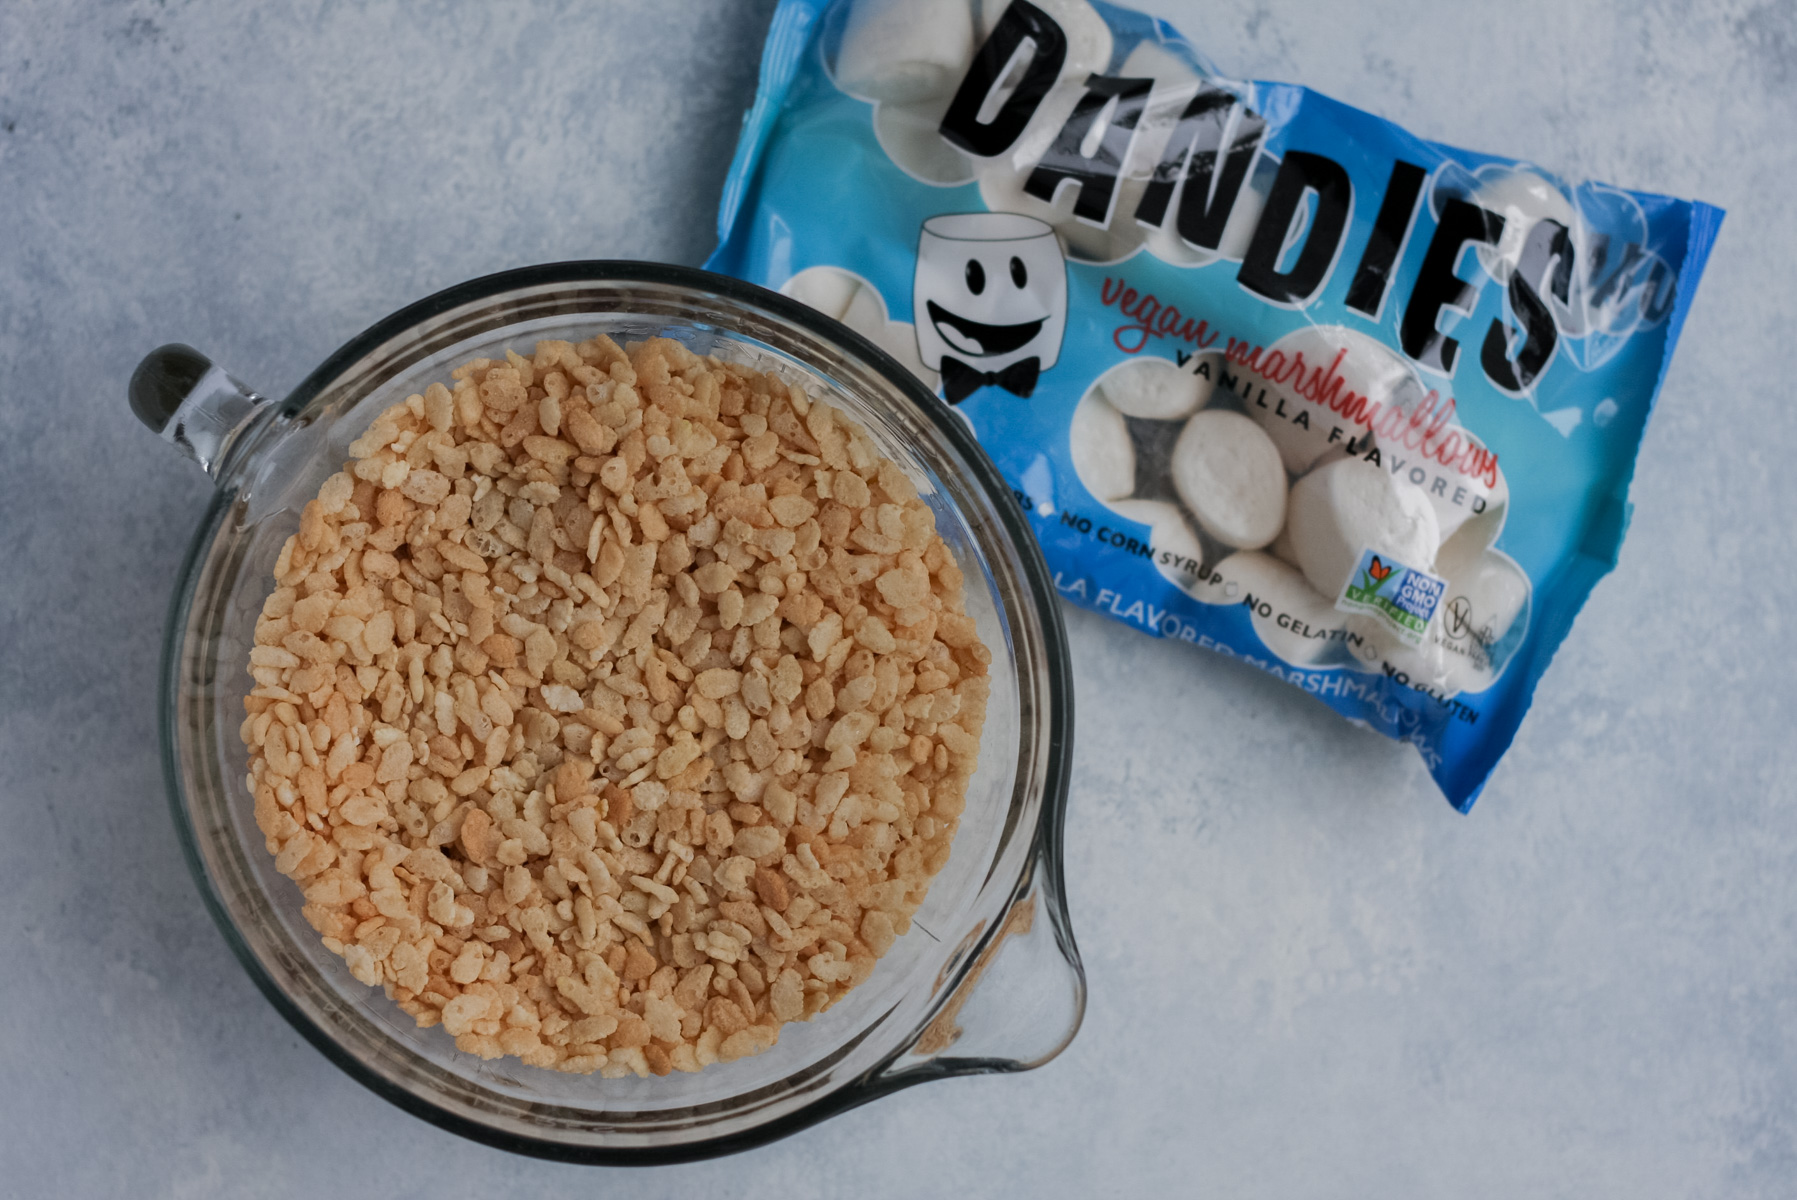
To make these vegan rice krispie treats, you'll need vegan marshmallows, vegan butter, crispy rice cereal, and a little bit of vanilla extract. Simply melt the marshmallows and butter together in a saucepan, then stir in the rice cereal and vanilla extract until everything is well combined.

Vegan marshmallows aren't going to melt like regular marshmallows. Don't be surprised when it's less of a nice, smooth melt and more of a tightly balled marshmallow melt. That's the only way I can think to describe it! You'll need to use a little more muscle to get an even mix of cereal and marshmallow, but it all comes together wonderfully.

If you want to make these vegan and gluten-free, make sure your rice krispies are also gluten-free.
While we're talking cereal, don't try to make these with the puffed rice cereal you spot at the health food stores or whole foods market. There's no crispy crunch! The puffed rice version is more like styrofoam and not a good cereal for mixing with marshmallow.
If you insist on health-ing these up, crispy brown rice cereal would work.

Once the mixture is ready, pour it into a greased baking dish. I like to use a smaller, square 9x9 dish for thicker crispy squares. Let it cool for a few minutes. Then, use a spatula to press the mixture down firmly into the dish. Let the treats cool completely before slicing them into squares and serving.
If you're looking for a tasty and easy-to-make, no bake vegan dessert, give these vegan rice crispy treats a try!
Print
The Best Vegan Rice Crispy Treats (Gluten Free)
- Prep Time: 15 minutes
- Total Time: 15 minutes
- Yield: 9 bars 1x
- Category: dessert
- Method: no-bake
- Diet: Vegan
Description
Made with just a handful of simple, plant-based ingredients, these treats are the perfect sweet treat for any occasion. They're easy enough for kids to make and the perfect lunchbox treat.
Ingredients
- 1 bag vegan marshmallows (10 oz.)
- 5 cups crispy rice cereal
- ¼ cup vegan butter
- 1 tsp. vanilla extract
Instructions
- Before you begin, grease a 9x9 square baking pan with vegan butter or something similar. I often use coconut oil spray.
- Start by melting your marshmallows and vegan button in a large heavy-bottomed pan on low to medium-low heat. Melting low and slow will give you the best results. Alternatively, you could probably do this in the microwave, using a microwave-safe bowl, but I haven't tried it myself.
- Once the marshmallow is reasonably melted, stir in the vanilla and remove from the heat.
- Then add the cereal and work and work quickly as possible to incorporate. The marshmallow will be a little tough to mix in evenly, but even if you have a few clumps of marshmallow it's delightful in the finished bars.
- Pour the mixture into your prepared dish and use a spatula to press the mixture down firmly into the dish in an even layer.
- Let the bars cool completely at room temperature. Store in an airtight container, if they last that long!


Leave a Reply